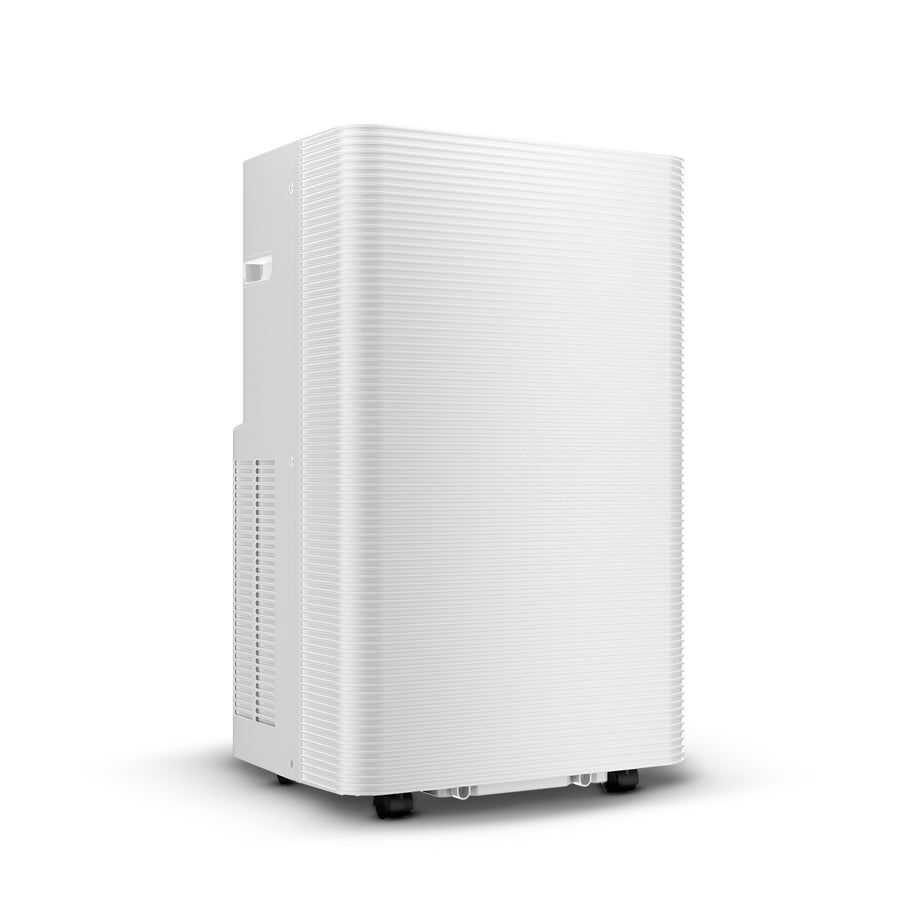
Installing a portable air conditioner (AC) is a practical solution for cooling spaces where traditional air conditioning systems may not be feasible or cost-effective. Unlike window units or central AC systems, a portable air conditioner offers the flexibility to move from room to room and generally requires no permanent installation. Before diving into the installation process, it’s crucial to understand that a portable AC works by pulling in warm room air, cooling it, and then circulating it back into the room, expelling any hot air outside through an exhaust hose.
Choosing the Right Location
The first step in installing your portable air conditioner is selecting the right location. It’s important to position the unit near a window and an electrical outlet. This proximity minimizes the length that the exhaust hose needs to cover, which can help your portable AC run more efficiently. Make sure the area is clear of any obstructions that could block the air intake or exhaust and avoid placing the unit where it could be exposed to direct sunlight, as this can overwork the unit.
Preparing the Window Kit
Most portable air conditioners come with a window kit, which includes a venting hose and adapters to fit various window types. Before installing, ensure that the window adapter kit fits securely into your window type, whether it’s a sliding or double-hung window. You may need to adjust the length of the adapter for a perfect fit. Remember, the goal is to seal the space around the vent hose to prevent warm air from returning into the room.
Installing the Vent Hose
Once the window kit is set up, the next step is to connect the exhaust hose to the portable air conditioner. The hose typically screws onto the unit and the window adapter. Ensure that the hose is as straight as possible to allow unrestricted airflow; kinks and bends can restrict the efficiency of the air conditioning process. If your model supports it, you can also consider adding an additional insulation sleeve over the hose to improve cooling efficiency by preventing heat soak.
Setting Up the Water Drainage System
Portable air conditioners either come with a built-in bucket or require continuous drainage. For models with a bucket, you’ll need to regularly check and empty it. If your model uses continuous drainage and is being used in a humid environment, you may need to attach a drain hose that directs water either into a drain or outdoors. It’s important to understand your specific model’s drainage requirements to prevent water accumulation and possible damage to the unit.
Powering Up and Testing Your Portable Air Conditioner
With the exhaust hose and drainage set up, your portable air conditioner is almost ready to cool. Plug the unit into an appropriate electrical outlet — make sure not to use an extension cord as it can be a fire hazard. Turn on the unit and select your desired settings. Most portable AC units come with a variety of modes such as cooling, dehumidifying, and fan only. Let the air conditioner run for a few hours initially to ensure it’s working correctly.
Final Adjustments for Optimal Cooling
After your portable air conditioner has been running for some time, check around the window adapter and hose for any air leaks. If you find leaks, you can seal them with weather stripping or additional insulation material. Adjusting the settings such as the thermostat and fan speed can also help you achieve the best cooling effect depending on the current room temperature and humidity levels.
Conclusion
A portable air conditioner can be a great addition to any home, especially in areas where traditional AC is not an option. Following this guide will help you set up your unit effectively. For those seeking further information on maintaining and optimizing their portable AC units, visiting UKOKE.COM can provide additional resources and expert advice. Remember, proper installation and maintenance can significantly enhance the efficiency and lifespan of your portable air conditioner, ensuring comfortable temperatures throughout the warmer months.

